
Curly Peeps – you will love this DIY hair gel. As a fellow curly girl, I know how expensive our products can be because of how much we need to use. And curls really need special products that do not contain sulfates, parabens, silicones and so much more. What’s more natural than a DIY gel???
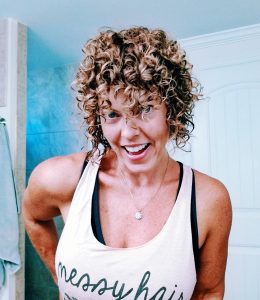
Look at these results after using this gel
I must preface this by saying, I am NOT a DIY kinda girl! In fact, I don’t even like to cook! If I can do this, anyone can! It truly is so easy and extremely inexpensive.
I have been following the Naturally Curly website for years and I found this recipe on that great site. So much amazing info on there and how to find your curl type. So without further adieu, Let’s do this!
INGREDIENTS
- 2 Cups Water
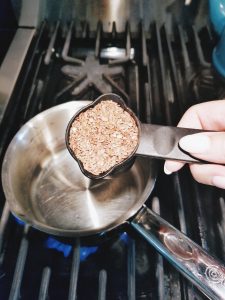
- 1/4 Cup Flaxseeds
- A pot
- Pantyhose or a stocking
- A jar with a lid
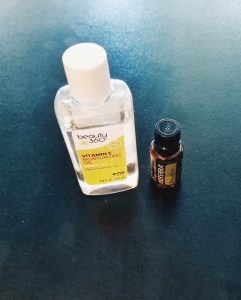
- Optional: Essential oils like rosemary, tea tree, or lavender and Vitamin E oil
1. Mix flaxseeds with water and heat in a small pot until it comes to a boil. Remember to stir often to ensure that the seeds don’t stick to the bottom.
2. After a few minutes, you will notice the water beginning to form a slick gel cast. Keep an eye on the mix while it’s on the stove because the higher the heat, the faster it will thicken. We want the consistency to be just right — not too thin and liquidy, not too thick and pasty.
3. When the water comes to a boil, the foamy froth will rise to the top along with what looks like mucus from the flax seed. You can then lower the heat and prepare a strainer. The easiest trick and common way to get the most gel from the flax seed without burning yourself while still saving the seeds — yes, they are reusable — is with a stocking. I took a clean mason jar and covered the opening with pantyhose or stocking. Just make sure it is new or clean. I poured the contents from the pot into the mason jar and the stocking captured all of the flax seed.
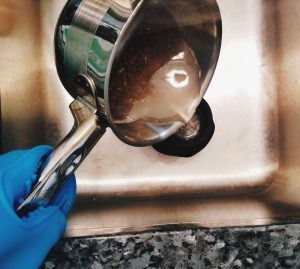
4. Once most of the liquid is in the jar, take some tongs to gently squeeze out whatever else you can get from the flax seeds. After squeezing out the gel, flip your stocking inside out and collect the flax seeds to store for the next use.
5. At this point, 2 options: You can either cover the jar and store it in the fridge until you are ready to use it OR you can add a few extra things to really give your gel some kick and maybe even have it last a little longer. I added about a teaspoon of vitamin E oil, which helps to preserve the gel and have it last about 3 weeks as opposed to one or two. Vitamin E oil is also beneficial because it helps to repair and build tissue due to its antioxidant properties. I added a few drops of rosemary, which is great for hair health because it can stimulate hair growth. Hair gel that makes your hair healthier? Yes, please! You can add drops of any scented oil you care to.
6. After mixing thoroughly, store your gel in the fridge. Cooling the gel will allow for your mix to thicken a bit and form more of a gel-like consistency.
CHECK out this link for my store that lists all the products I used. Also watch the video below for even more curly hair products. All the products used are listed below my YouTube video. Don’t forget to SUBSCRIBE to my channel for the latest videos.
[embedyt] https://www.youtube.com/watch?v=X1gHQaUxNaM[/embedyt]
Let me know how this gel works for you. I’d also love to hear about your favorite curly hair products. Let’s help out our fellow curlies!